AI-Generated Video Summary by NoteTube
004 Backpack
Michael Pavlovich
Overview
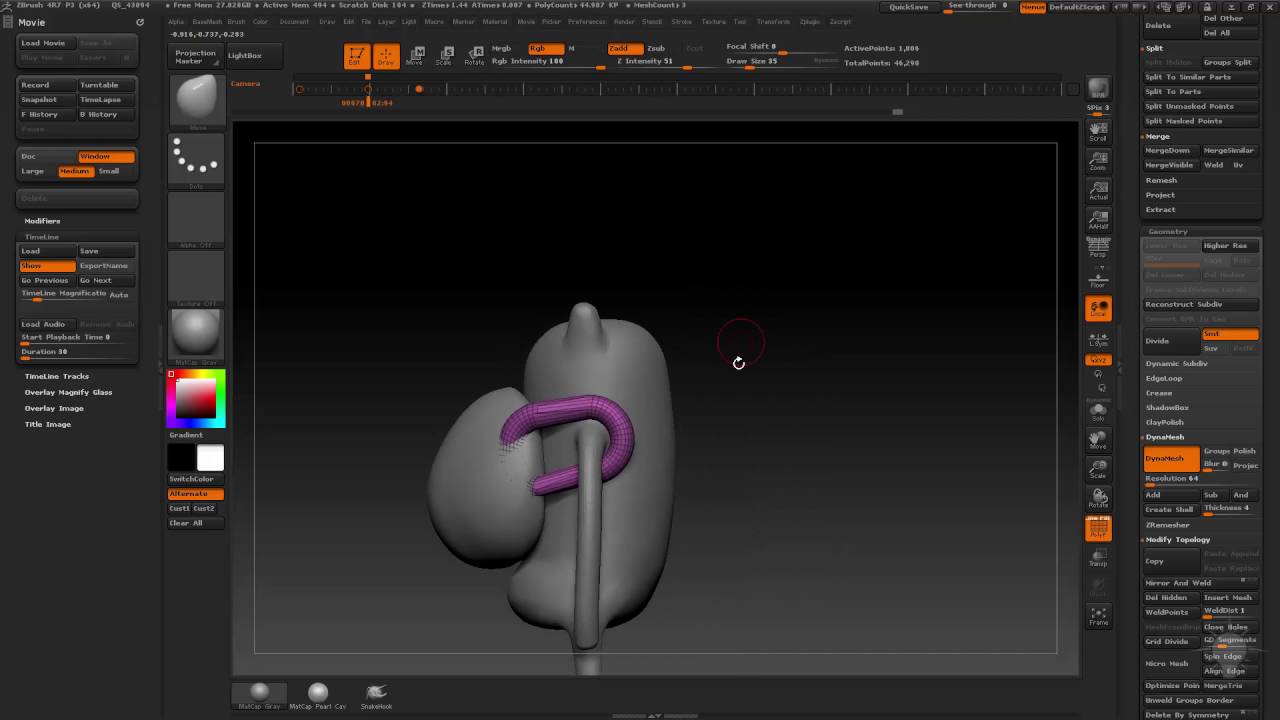
This video demonstrates the process of modeling a backpack for a character in ZBrush. The creator begins by inserting a sphere and shaping it into a basic backpack form. Key techniques shown include using the 'Split Hidden' function to isolate the backpack, 'Dynamesh' for initial shaping and smoothing with 'Trim Dynamic', and 'Move' and 'Inflate' brushes for refining the form. The process also covers adding a ring detail around the backpack using an insert mesh brush, manipulating its shape with masking and transpose tools, and utilizing 'ZRemesher' to create cleaner quad topology. Finally, the backpack is merged with the character's body, and the creator discusses options for further refinement and potential subdivision.
This summary expires in 30 days. Save it permanently with flashcards, quizzes & AI chat.
Chapters
- •Insert a sphere using the 'Big Brush' and 'Insert Sphere' tool.
- •Position the sphere on the character's back.
- •Use 'Split Hidden' (under Visibility) to isolate the backpack mesh.
- •Enter 'Solo mode' for easier manipulation.
- •Use 'Clip Curve' with 'Alt' to create a soft bend and clip the backpack shape.
- •Apply 'Dynamesh' to the backpack to unify the geometry.
- •Use 'Shift Smooth' and 'Trim Dynamic' brushes to create a more natural backpack form.
- •Adjust the shape using the 'Move' brush and anchoring.
- •Create a ring detail using an insert mesh brush.
- •Position and rotate the ring using 'W' (Move), 'E' (Scale), and 'R' (Rotate) hotkeys.
- •Mask the round part of the ring and use the 'Move' brush to shape it around the arm and into the backpack.
- •Isolate the ring using 'Ctrl+Shift' and 'Split Hidden'.
- •Use reference images to adjust the ring's shape, making the top flare out.
- •Utilize the 'Inflate' brush (under Tool > Deformations) to adjust the ring's volume.
- •Apply 'ZRemesher' to create cleaner, quad-based topology while maintaining a low-res look.
- •Understand the 'D' and 'Shift+D' shortcut for previewing subdivision levels.
- •Adjust the backpack's bottom flare to compensate for the top adjustments.
- •Merge the backpack and the ring subtools together using 'Merge Down'.
- •Re-apply 'Dynamesh' after merging to unify the geometry.
- •Smooth out the transition areas between the backpack and the character's body.
Key Takeaways
- 1Utilize 'Split Hidden' and 'Solo mode' for efficient isolation and manipulation of subtools.
- 2Dynamesh is crucial for unifying geometry and allowing for quick shaping and smoothing.
- 3Insert mesh brushes are effective for adding repeating details like the backpack ring.
- 4Masking and transpose tools offer precise control for manipulating complex shapes.
- 5ZRemesher can significantly improve topology for cleaner sculpting and potential subdivision.
- 6Regularly check your model from all angles ('work in the round') to ensure consistent form.
- 7Merging subtools and re-applying Dynamesh is a common workflow for combining elements.
- 8Hotkeys (W, E, R, Z, D, Shift+D) greatly speed up the sculpting process.