8:33
How To Build a Water Pressure Rocket With a Parachute
JoshBuilds
Overview
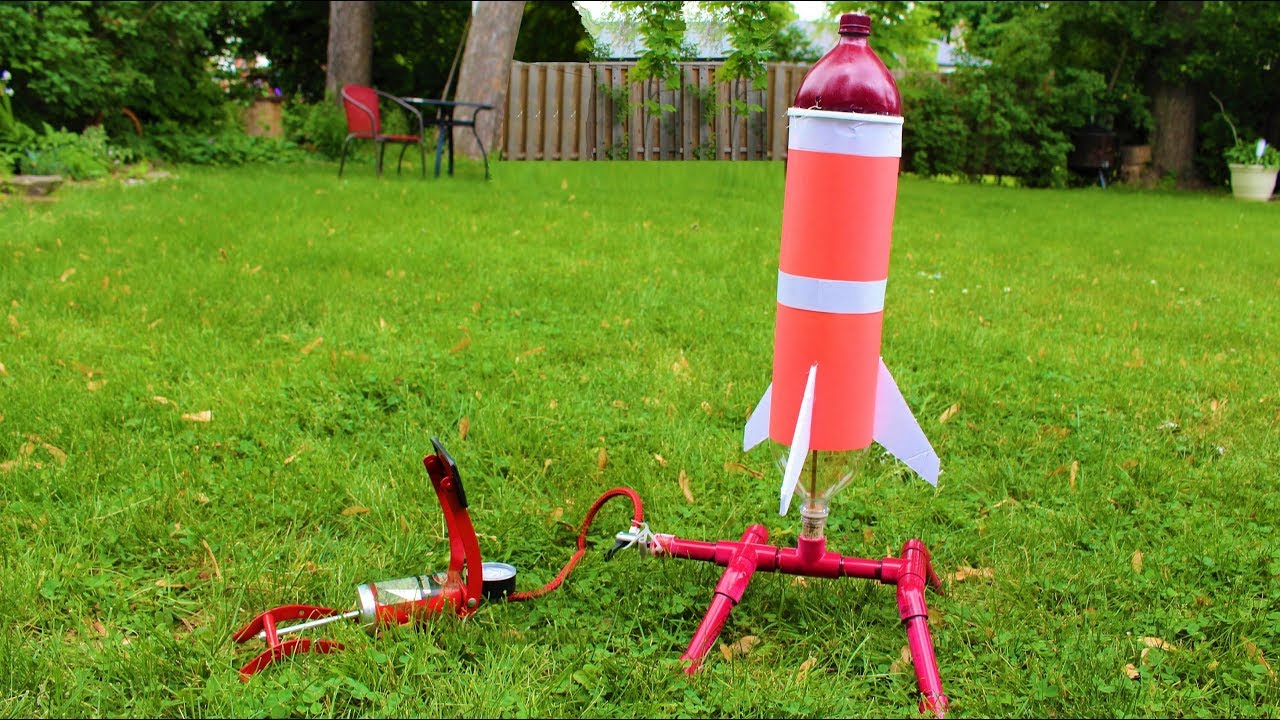
This video demonstrates how to build a functional water pressure rocket equipped with a parachute and a payload compartment. It covers the construction of a sturdy launch pad using PVC pipes and an inner tube valve for air intake. The rocket itself is assembled from plastic bottles, featuring fins for stability, a foam compartment for a mini camera payload, and a nose cone designed to detach and deploy a parachute for a safe descent. The process emphasizes careful assembly, secure gluing, and proper parachute wrapping for successful launch and recovery.
How was this?
Save this permanently with flashcards, quizzes, and AI chat
Chapters
- Construct a launch pad using 8.5-inch PVC pipes, cutting them into necessary smaller pieces.
- Assemble the PVC pieces, dry-fitting first to ensure proper alignment before permanent gluing.
- Integrate an inner tube valve into the end piece of the launch pad using two-part epoxy to allow air to be pumped in.
- The valve serves as the crucial component for pressurizing the rocket via a bicycle pump.
A stable and functional launch pad is essential for safely containing the pressure and directing the rocket's initial thrust upwards.
Using PVC pipes and fittings to create a base structure that securely holds the rocket during pressurization.
- A wine cork is modified with a hole to fit snugly onto the launch pad's pipe.
- A smaller pipe is inserted through the cork to prevent water from escaping backwards into the launch pad.
- This setup allows air pressure to build inside the rocket until it overcomes the cork's seal, launching the rocket.
- The cork acts as a temporary seal that releases when internal pressure is sufficient.
This mechanism is the core of the rocket's propulsion, enabling the controlled release of stored air pressure to generate thrust.
Drilling a hole through a wine cork and inserting a tube, then using epoxy to secure a valve, creating a seal that holds pressure until launch.
- Begin by wrapping a sheet of paper around the first plastic bottle for structural purposes.
- Attach fins near the bottom of the rocket; positioning them lower increases flight stability.
- Cut the top off a second plastic bottle and attach it to the first to extend the rocket's body.
- Fins are critical for ensuring the rocket flies in a straight trajectory by providing aerodynamic stability.
The rocket's body and fins determine its aerodynamic properties, ensuring it launches straight and maintains stability during ascent.
Cutting out triangular shapes for fins and securely taping them to the lower section of the main rocket bottle.
- Construct a compartment using foam board and sponge to safely house a mini camera payload.
- Mount this payload compartment to the front of the rocket and secure it with tape.
- A thin layer of foam is wrapped around the rocket's top to loosely hold the nose cone.
- The nose cone is designed to detach easily during descent, triggering the parachute deployment.
This section focuses on safely carrying and recovering a payload, adding functionality beyond simple flight.
Creating a small box from foam board to hold a camera, then taping it onto the rocket's nose.
- Cut a section from a plastic garbage bag to serve as the parachute canopy.
- Fold the plastic and cut a clean edge to ensure symmetry, then hole punch evenly spaced holes around the perimeter.
- Tie strings to each hole, gathering them together with a central string.
- Wrap the parachute loosely so it can easily unfurl when the nose cone detaches.
- Secure the parachute's strings to the top of the rocket body.
A well-made parachute is crucial for slowing the rocket's descent, protecting the payload and allowing for easier recovery.
Cutting a large circle from a plastic bag, punching holes around the edge, and tying strings to each hole.
- Fill the rocket with one small bottle's worth of water.
- Attach the rocket securely onto the prepared launch pad.
- Place the nose cone loosely on top of the rocket.
- Begin pumping air into the launch pad valve to pressurize the rocket.
- Observe the launch, noting the rocket's ascent and the parachute deployment.
Testing validates the design and construction, demonstrating the principles of water pressure propulsion and parachute deployment in action.
Filling the rocket with water, attaching it to the launch pad, and pumping air until it launches skyward.
Key takeaways
- Water rockets utilize Newton's Third Law: for every action, there is an equal and opposite reaction, where expelled water and air create thrust.
- Aerodynamic stability is achieved through well-placed fins, which help the rocket fly straight.
- A payload compartment needs to be securely attached yet designed to avoid hindering the rocket's flight.
- The parachute mechanism relies on a controlled release of the nose cone to allow for unimpeded deployment.
- Properly wrapping the parachute is key to ensuring it opens effectively upon deployment.
- Pressure build-up is the driving force; the seal must hold enough pressure to launch but release cleanly.
- The launch pad provides a stable base and a controlled entry point for pressurization.
Key terms
Water Pressure RocketLaunch PadPVC PipeInner Tube ValveEpoxyFinsPayloadNose ConeParachuteAerodynamic Stability
Test your understanding
- What is the primary function of the fins on a water rocket?
- How does the wine cork and pipe assembly prevent water from escaping the launch pad prematurely?
- Why is it important for the nose cone to be attached loosely?
- What are the key components needed to build the launch pad?
- Describe the process by which the parachute is deployed.