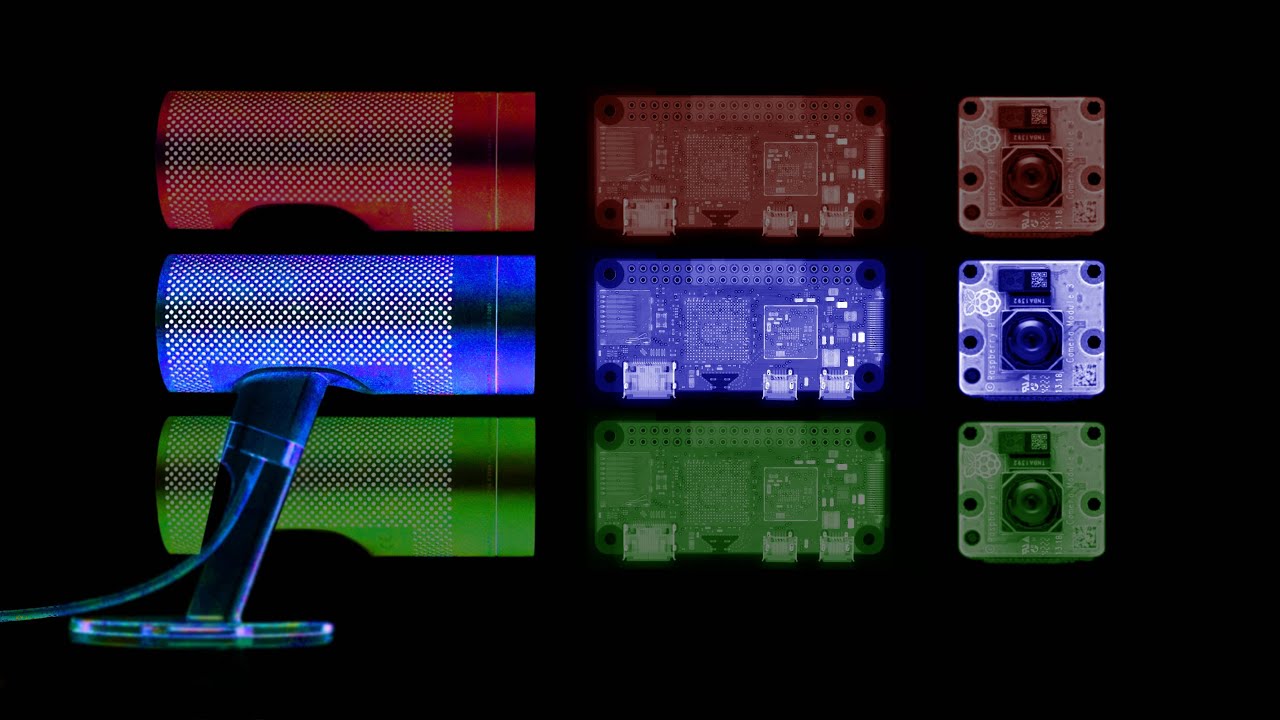
Webcams SUCK, so I built my own one
f4mi
Overview
This video chronicles the journey of building a custom webcam, starting with the historical context of the very first webcam created at Cambridge University to solve a coffee machine monitoring problem. It then delves into the creator's dissatisfaction with modern webcam quality and their decision to build their own. The process involves 3D printing for housing, utilizing a Raspberry Pi Zero 2W and a high-quality camera module, and repurposing the iconic Apple iSight webcam housing for a blend of retro aesthetics and modern functionality. The video highlights the challenges and triumphs of integrating new technology into vintage designs, ultimately showcasing a functional, high-quality webcam.
Save this permanently with flashcards, quizzes, and AI chat
Chapters
- In 1991, Cambridge University students created the first webcam to remotely monitor a coffee machine, saving them trips up and down stairs.
- The initial setup used a basic camera, a frame grabber, and an ACORN Archimedes computer, producing a low-resolution, black-and-white feed.
- The feed was initially internal but was moved to the World Wide Web in 1993 after the Mosaic browser enabled image viewing on web pages, making it accessible to anyone.
- This innovation, born out of a simple need, inadvertently marked the creation of the world's first webcam.
- Despite advancements, the creator argues that modern built-in webcams, even on high-end laptops, still offer poor quality.
- Dissatisfaction with current webcam performance motivates the creator to build a superior custom webcam.
- The project requires 3D printing for custom housing, leading to the adoption of a Bambu Labs A1 mini 3D printer.
- The ease of use and capabilities of the Bambu Labs printers are highlighted, enabling the creation of custom parts for the webcam project.
- A webcam fundamentally consists of three main parts: the sensor and lens, the image signal processor (ISP), and the housing.
- The sensor and lens capture light and convert it into pixel data.
- The ISP encodes these pixels into a video stream that a computer can process, typically via USB.
- The housing protects the internal components and provides a mounting solution.
- The project utilizes a Raspberry Pi Zero 2W, a small, power-efficient, and affordable single-board computer.
- The Raspberry Pi Zero 2W features a built-in video encoder capable of handling 1080p streams and a dedicated camera port.
- A 12-megapixel Raspberry Pi Camera Module 3 is chosen for its high-quality sensor, considered 'overkill' but ideal for superior performance.
- Software setup involves configuring the Raspberry Pi to run as a USB webcam, following a guide from the Raspberry Pi team.
- The creator seeks a housing that combines timeless design with modern functionality, rejecting the utilitarian nature of 3D printed enclosures.
- The Apple Power Mac G5 (2003) and its iconic 'cheese grater' design are presented as examples of enduring aesthetic appeal.
- The Apple iSight webcam (2003) is identified as a beautifully designed webcam with a built-in privacy lens, representing a peak in webcam aesthetics.
- The project aims to integrate the modern Raspberry Pi camera system into the vintage iSight housing, creating the 'PiSight'.
- The project involves disassembling the notoriously difficult Apple iSight, with a strong recommendation to follow iFixit guides.
- A critical warning is given against opening the iSight's privacy lens mechanism, as it is fragile and easily broken.
- 3D printed parts, customized from existing models, are used to adapt the Raspberry Pi Zero 2W and camera module to fit within the iSight housing.
- Despite breaking the privacy lens, the creator successfully integrates the components, resulting in a functional and aesthetically pleasing webcam.
- The completed PiSight webcam offers excellent video quality (1080p at 30fps, 720p at 60fps) with fast autofocus.
- While the Pi Zero 2W can support Wi-Fi streaming, USB connection is preferred for better latency.
- Audio is handled by a separate, vintage microphone (Samson Meteor) due to the lack of a built-in mic on the Pi.
- The original iSight stand is repurposed for mounting, with custom 3D printed brackets suggested for different monitor types or laptops.
Key takeaways
- Technological innovation often arises from solving practical, everyday problems, as demonstrated by the first webcam.
- DIY projects can achieve superior results compared to mass-produced products by focusing on quality components and thoughtful design.
- Repurposing vintage hardware can blend nostalgic aesthetics with modern functionality, creating unique and high-performing devices.
- 3D printing is a powerful tool for customization, enabling the adaptation of new electronics into existing or novel enclosures.
- Understanding the core components of a device (sensor, ISP, housing for a webcam) is crucial for effective modification or creation.
- Even with advanced technology, design choices like timeless aesthetics can significantly impact a product's perceived value and longevity.
- The process of building custom hardware involves problem-solving, learning new skills (like 3D printing and electronics integration), and overcoming unexpected challenges.
Key terms
Test your understanding
- What problem led to the creation of the very first webcam, and how was it solved?
- Why does the creator believe modern webcams still 'suck,' and what approach do they take to build a better one?
- What are the three essential components of a webcam, and what is the function of each?
- How does the Raspberry Pi Zero 2W facilitate the creation of a custom webcam, and what camera module is used?
- What vintage hardware is repurposed for the custom webcam's housing, and why was this specific design chosen?
- What challenges were encountered during the assembly of the custom webcam into the vintage housing, and how were they addressed?