6:07
The Affordable Camera to make ANY video CINEMATIC
Andrew
Overview
This video breaks down the budget-friendly gear and techniques used to achieve a cinematic look in video production. The creator emphasizes that high-end equipment isn't necessary for professional-looking results, focusing instead on affordable lenses, ND filters, and specific camera settings. The summary covers camera bodies, lenses, essential accessories like ND filters and microphones, and the post-production workflow involving editing and color grading, all while highlighting cost-effective choices.
How was this?
Save this permanently with flashcards, quizzes, and AI chat
Chapters
- High-end, expensive gear isn't required to create cinematic videos.
- The creator's own setup is beginner-friendly, not high-tech, and fits into a small bag.
- The same affordable gear has been used for client work, YouTube, and achieving cinematic frames for years.
- Budget-friendly is relative within filmmaking, but the focus is on the lower end of the price spectrum.
This chapter sets the stage by challenging the common misconception that expensive equipment is a prerequisite for professional video quality, encouraging viewers to focus on technique and smart purchasing.
The creator mentions that all their gear fits into a small bag, illustrating the portability and accessibility of their setup.
- The primary lens used is the Tamron 24-70mm, a more affordable alternative to the Sony G Master, saving significant cost without a noticeable difference in quality.
- A secondary wide lens, the Viltrox 20mm f/2.8, is used for its affordability.
- Shallow depth of field is crucial for a cinematic look and is achieved using ND filters.
- ND filters act like sunglasses for the camera, darkening the image without altering aperture, which is essential for shooting in bright conditions like outdoors.
Understanding lens choices and the function of ND filters is key to controlling light and achieving the desirable blurred background (shallow depth of field) that defines a cinematic aesthetic.
Using KF Concept Nano B series variable ND filters on all lenses to darken the frame and maintain shallow depth of field when filming outside.
- The creator primarily uses a Sony A7S3, which was purchased years ago as a photo camera and is significantly cheaper than cinema cameras like the FX3.
- The A7S3 offers comparable video quality to the FX3 but includes a viewfinder, unlike the FX3.
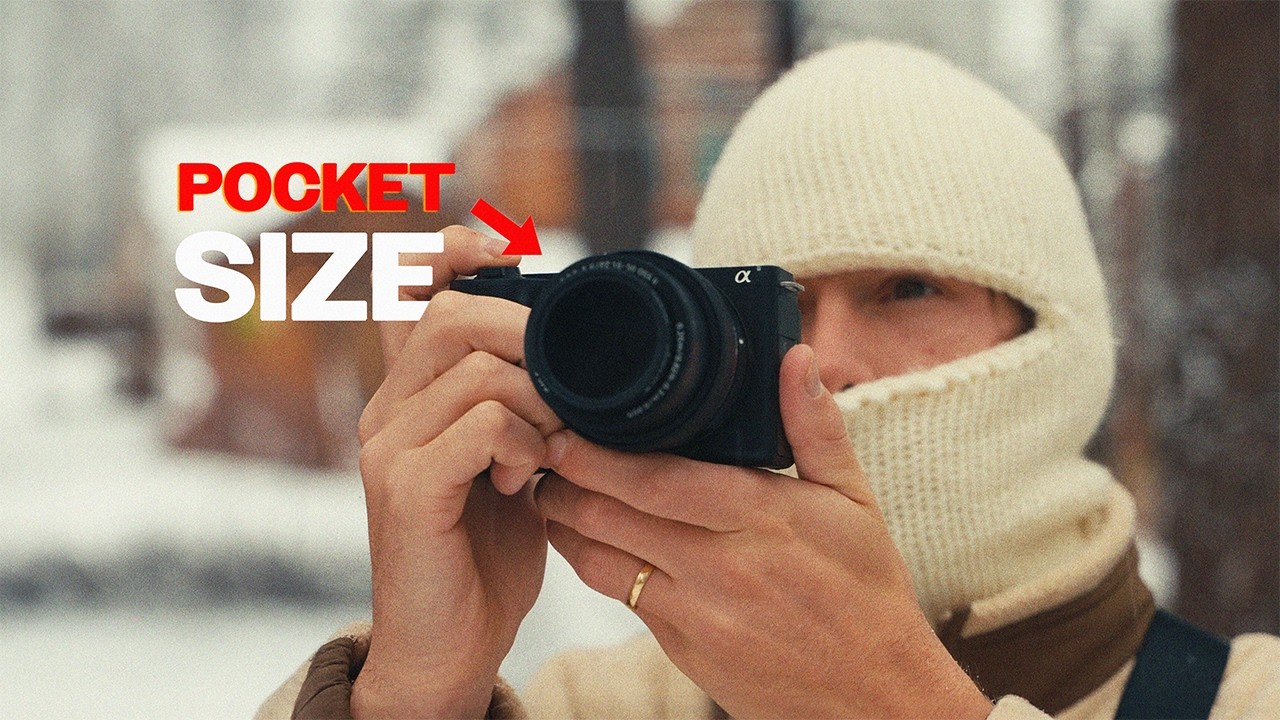
- A newer, very compact camera, the Sony ZV-E10 model 2, was acquired for its small size and portability, enabling 'run and gun' shooting.
- The ZV-E10's compatibility with existing lenses makes it a practical addition for mobile filming.
This section highlights that a versatile, older mirrorless camera can serve professional video needs, and a secondary compact camera can enhance mobility without compromising quality, demonstrating smart upgrades.
The creator shows their hand is larger than the ZV-E10, emphasizing its pocket-sized portability.
- Footage is edited in Adobe Premiere Pro.
- The project is then exported via XML to DaVinci Resolve for color grading.
- A 'one-click' color grade preset is used to quickly achieve a cinematic look.
- This streamlined post-production process allows for efficient creation of visually appealing videos.
Efficient post-production workflows, including the use of presets, can significantly speed up the process of achieving a professional, cinematic look without requiring extensive manual adjustments.
Applying a custom 'one-click' color grade in DaVinci Resolve to instantly transform footage.
- Standard shooting settings include 24 frames per second and Sony Slog 3 (Picture Profile 8).
- Overexposure by 0.7 to 1.5 stops is used when shooting in Slog 3 to capture more detail.
- A single softbox light (Zion Mus G300) is used, positioned closely to create soft, flattering light at low power settings (1-10).
- For outdoor audio, a Kamika VM30 shotgun microphone is used with minimal gain (1-2) to capture natural sound without peaking.
Understanding specific camera settings, lighting techniques, and audio recording methods provides practical, actionable steps for viewers to replicate the creator's cinematic results.
Using a single softbox light very close to the subject and at a low power setting (1-10) for soft illumination.
Key takeaways
- Professional cinematic video is achievable with affordable, non-specialized gear.
- ND filters are essential for controlling exposure and achieving shallow depth of field in bright conditions.
- Older, high-quality mirrorless cameras like the Sony A7S3 can be excellent, budget-friendly video tools.
- Compact cameras like the Sony ZV-E10 offer portability for 'run and gun' shooting without sacrificing lens compatibility.
- A streamlined post-production workflow, including custom color grades, can efficiently enhance video aesthetics.
- Simple lighting setups, like a single softbox used creatively, can produce professional results.
- Careful audio recording with minimal gain on a shotgun mic ensures natural sound quality.
Key terms
Cinematic videoBudget-friendly gearShallow depth of fieldND filtersSony A7S3Sony ZV-E10Premiere ProDaVinci ResolveColor gradingSlog 3Shotgun microphone
Test your understanding
- How can ND filters help achieve a cinematic look, especially when filming outdoors?
- What is the primary advantage of using a camera like the Sony A7S3 over a dedicated cinema camera for budget-conscious filmmakers?
- Describe the workflow for editing and color grading mentioned in the video.
- Why is it important to use a single softbox light at a low power setting and close to the subject?
- What camera settings (frame rate, picture profile, exposure adjustment) does the creator recommend for shooting in Slog 3?