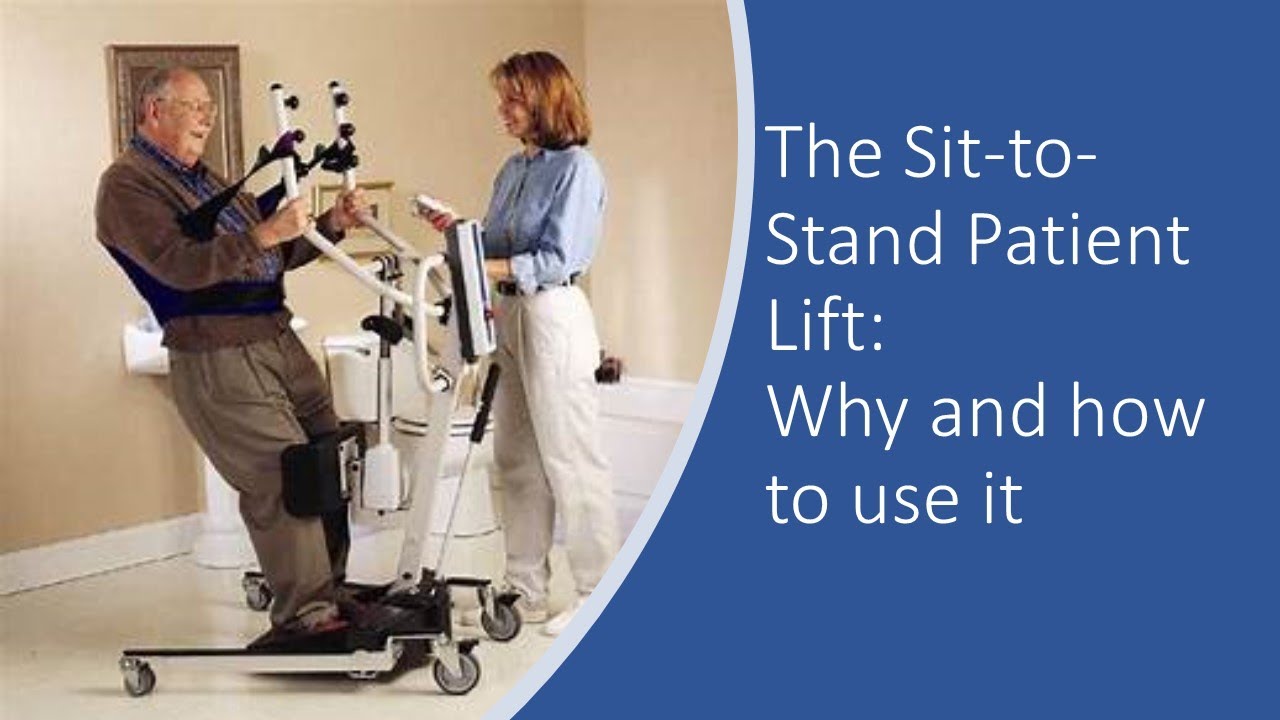
The sit-to-stand patient lift and how to use it
Harmony Home Medical Supply
Overview
This video demonstrates the use of a sit-to-stand patient lift, a common assistive device for individuals who need help transitioning between sitting and standing positions. It highlights how this lift supports users who can participate in the transfer but lack the strength or stability for independent movement. The explanation covers the components of the lift, the specific type of sling used, and the step-by-step process of applying the sling, attaching it to the lift, and executing the transfer. Emphasis is placed on safety, proper positioning, and the benefits of using this lift for preventing falls and ensuring user comfort and control during transfers.
Save this permanently with flashcards, quizzes, and AI chat
Chapters
- The sit-to-stand lift is prevalent in home care settings, used when more assistance is needed than a simple sit-to-stand maneuver.
- It is suitable for individuals who can sit up independently but require support for standing due to lower extremity weakness.
- This lift is often manual (hydraulic) but can also be powered.
- Sit-to-stand lifts use smaller slings, often U-shaped, that go behind the back and under the legs.
- Some slings include a belt around the waist to help keep the lift in place.
- Straps attach from the sling to the lift mechanism, with options for padding under the arms for comfort.
- The goal is to position the sling so it supports the user without causing discomfort, especially behind the knees.
- The user should lean forward and get close to the lift for a faster, more efficient lift.
- The lift's leg supports (if present) are positioned under the user's legs and attached.
- The lift acts as a safety net, preventing falls if the user's knees buckle.
- Adjusting strap length can affect the lifting force and the degree to which the user's legs are pulled up.
- Ensure the user is positioned correctly with feet on the footplate and the knee pad below the kneecap.
- The hydraulic lever is pumped to raise the user; the process is not heavy but takes time.
- The lift can be maneuvered to transfer the user to another surface, like a chair or bed.
- The lift provides a stable seated position, reducing the need for manual adjustments.
- To lower the user, the release valve on the hydraulic lift is gradually opened.
- Newer lifts lower smoothly, but older or worn valves can release too quickly, posing a safety risk.
- Caregivers must monitor the descent and control the valve to ensure a slow, safe lowering process.
- This type of lift and sling setup facilitates easy transfers without excessive pulling or tugging.
Key takeaways
- The sit-to-stand lift is designed for individuals who need assistance with standing but can still participate in the transfer.
- Proper sling selection and application are fundamental for safe and comfortable transfers.
- The sit-to-stand lift functions as a safety net, preventing falls when a user's strength falters.
- Careful positioning of the user and the lift components, especially the knee pad, is essential.
- Operating the hydraulic lift requires controlled pumping for ascent and slow, deliberate valve release for descent.
- Using the correct lift and sling can significantly improve user comfort and reduce the risk of falls and caregiver strain.
- Understanding the limitations and proper use of assistive devices like the sit-to-stand lift is key to effective home care.
Key terms
Test your understanding
- What type of user is best suited for a sit-to-stand lift?
- How does the sling design contribute to the functionality of a sit-to-stand lift?
- What are the critical safety checks to perform before operating the sit-to-stand lift?
- Why is it important to control the speed when lowering a patient with a hydraulic lift?
- How can adjusting the sling straps impact the transfer process?