7:31
How to Install Windows 10 from a USB Flash Drive
AvoidErrors
Overview
This video tutorial demonstrates how to install Windows 10 using a USB flash drive. It covers the entire process, from downloading the necessary tool from Microsoft and creating a bootable USB, to configuring the BIOS/UEFI to boot from the USB drive. The guide also explains how to partition and format the hard drive during installation, including deleting existing partitions to ensure a clean install. Finally, it walks through the initial Windows 10 setup steps, such as product key entry (or skipping it), accepting license terms, and configuring user accounts and settings. The tutorial emphasizes the speed and convenience of installing Windows via USB.
How was this?
Save this permanently with flashcards, quizzes, and AI chat
Chapters
- Back up all important data before starting, as the installation process will erase the hard drive.
- Determine your system's architecture (32-bit or 64-bit) by checking system properties.
- Download the Windows 10 Media Creation Tool from Microsoft's official website.
- Run the tool and select 'Create installation media for another PC', then choose the correct language, edition, and architecture.
- Select 'USB flash drive' as the media type and connect a USB drive (at least 8GB) to create the bootable installation media.
Creating a bootable USB is essential for installing Windows 10 on a computer that doesn't have an existing operating system or when you need to perform a clean installation.
Downloading the Media Creation Tool, running it, selecting 'USB flash drive', and letting it prepare the drive with Windows 10 installation files.
- Restart the computer and access the BIOS/UEFI setup or boot menu during startup (common keys are F2, F12, DEL, ESC).
- Navigate to the 'Boot' section within the BIOS/UEFI settings.
- Change the boot order to prioritize the USB drive as the first boot device.
- Save the changes and exit the BIOS/UEFI, which will cause the computer to restart and boot from the USB drive.
This step ensures that the computer starts from the Windows 10 installation media on the USB drive instead of the existing operating system or hard drive.
Looking for options like 'Removable Devices' or the specific name of the USB drive in the boot order list and moving it to the top.
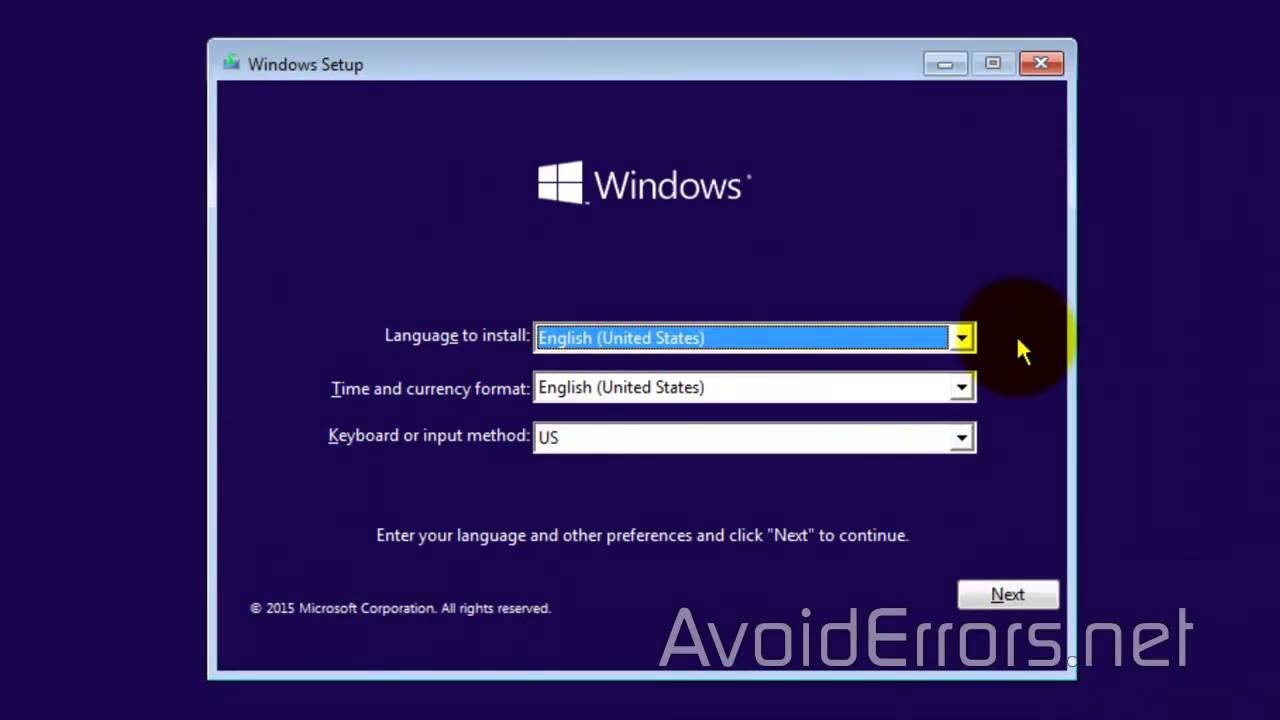
- Follow the on-screen prompts after booting from the USB: select language, time, and keyboard layout.
- Choose 'Install now' and enter your product key if you have one, or select 'I don't have a product key' to enter it later.
- Accept the license terms to proceed.
- Select 'Custom: Install Windows only (advanced)' for a clean installation.
- Delete existing partitions (System Reserved, Primary) on the target drive to create unallocated space for a fresh install, confirming the data loss.
This phase involves partitioning the drive and initiating the actual file transfer and installation of Windows 10, setting up the foundation for your operating system.
Deleting the 'System Reserved' and 'Drive 0 Partition 1' (or similar) and then clicking 'Next' on the resulting 'Unallocated Space' to let Windows handle formatting and installation.
- The installation process will involve several restarts; do not press any key when prompted to boot from CD/DVD/USB again.
- Choose 'Use Express settings' or customize your settings.
- Decide whether to sign in with a Microsoft account or create a local account.
- Configure privacy settings and other preferences as guided by the setup wizard.
- Windows 10 will finalize the installation, which is noted as being very fast when using a USB drive.
Completing the initial setup personalizes your Windows 10 experience and configures essential settings for using the operating system.
Choosing to create a local account with a username and optionally a password, or signing in with a Microsoft account email and password.
Key takeaways
- A bootable USB drive is a versatile tool for installing or reinstalling Windows 10.
- Always back up your data before starting a Windows installation, as it will erase the target drive.
- Understanding your system's architecture (32-bit vs. 64-bit) is crucial for downloading the correct Windows version.
- Modifying the BIOS/UEFI boot order is a necessary step to initiate the installation from the USB.
- Performing a clean install by deleting existing partitions ensures a fresh start and can resolve system issues.
- The installation process requires careful attention to on-screen prompts, especially regarding product keys and boot sequences.
- Installing Windows 10 from a USB drive is significantly faster than traditional methods like using DVDs.
Key terms
Bootable USB DriveMedia Creation ToolBIOS/UEFIBoot OrderSystem Architecture (32-bit/64-bit)PartitionsUnallocated SpaceClean InstallLocal AccountMicrosoft Account
Test your understanding
- What is the primary purpose of the Media Creation Tool in this process?
- Why is it important to change the boot order in the BIOS/UEFI?
- How does deleting existing partitions contribute to a clean Windows 10 installation?
- What are the main differences between creating a local account and using a Microsoft account during Windows setup?
- What precautions should be taken before starting the installation process to avoid data loss?